
Getting started with the Power Dialer
The Power Dialer runs your call list one contact at a time. It places the call, tracks the outcome, and lines up the next number so you can keep a steady rhythm going. Here's how to set it up and make your first calls.
Start a Power Dialer session
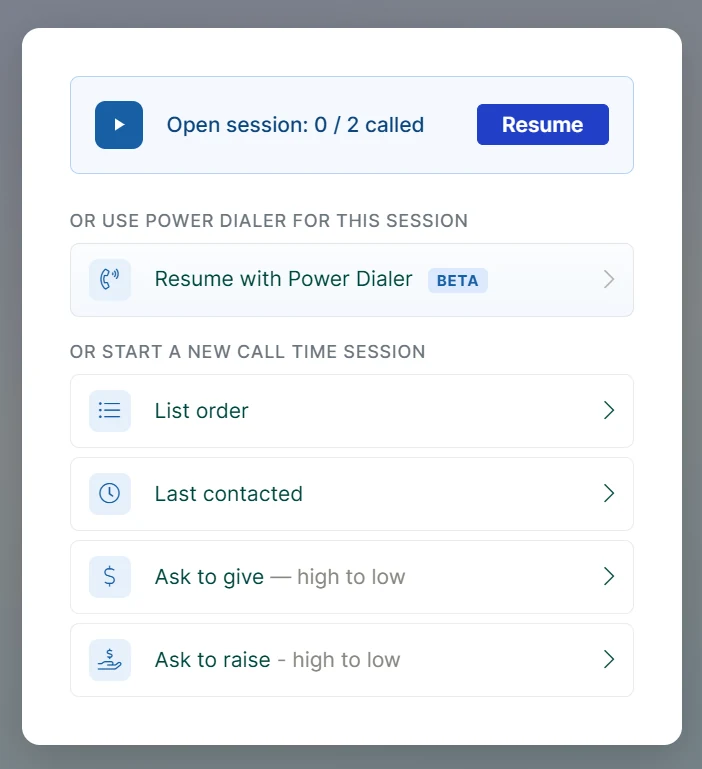
The Power Dialer lives inside Call Time. Open a call list the way you normally would, and the session picker appears. To run the list through the dialer, choose Resume with Power Dialer.
Starting fresh instead? Pick how you want the list ordered — List order, Last contacted, Ask to give, or Ask to raise — and then launch it with the Power Dialer. The BETA tag is expected; the dialer is still in active development.
The Pre-Flight check
Before the first call, the dialer runs a quick three-step Pre-Flight — Configuration, Audio Devices, and Connection. You only run through it once when you start a session.
Step 1 · Configuration
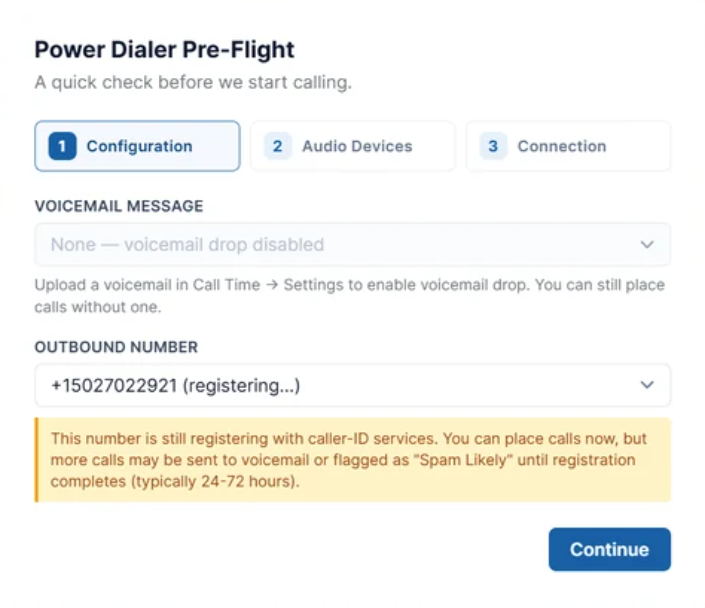
Set two things here. Voicemail message is optional: if you've uploaded a greeting, pick it so the dialer can drop it automatically when you hit voicemail. No greeting yet? Leave it on None — voicemail drop disabled and place calls normally. To add one later, go to Call Time → Settings and upload a recording.
Outbound number is the number your calls come from. Pick the one you want prospects to see.
Heads-up · numbers still registering
A number labeled registering… is still being set up with the carriers' caller-ID services. You can place calls with it right away, but until registration finishes, usually 24–72 hours, more of those calls may go to voicemail or show as “Spam Likely” on the recipient's phone. If you have a fully registered number, use it for live-answer campaigns. This is currently a future feature. Please talk to our support team about how you can register a number yourself.
Step 2 · Audio devices
Choose the microphone and the speakers or headphones you'll use on calls. Click Test to play a one-second tone through your speakers, then watch the Speak now meter — say a few words and the green bar should move. When you see “Microphone working.”, you're set.
Important · allow microphone access
The first time you use the dialer, your browser asks permission to use your microphone. You have to allow it, without mic access the meter won't move and no one will hear you on calls. If you don't see a prompt, or you blocked it before, turn it back on here:
CHROME Allow the mic | SAFARI Allow the mic |
Click Allow on the popup. If it's already blocked, click the site-controls icon at the left edge of the address bar, set Microphone → Allow, and reload the page. You can also open chrome://settings/content/microphone to manage it. | Click Allow when Safari asks. If it's blocked, open Safari → Settings → Websites → Microphone, find the Campaign Deputy site, and set it to Allow — or Control-click the address bar and choose Settings for This Website. Reload after changing it. |
Step 3 · Connection
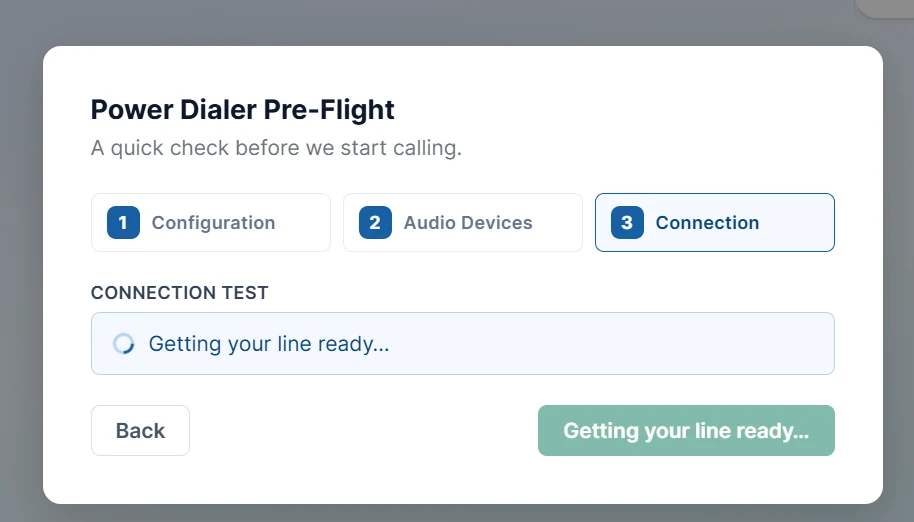
The final step gets your calling line ready. Give it a few seconds — once it's done, the button turns active and you're dropped straight into your first contact.
Know your call screen
Every contact fills the screen with what you need to make the call and log it. Here's the lay of the land:
Place a call
To start a call, pick the number you want to dial and click Call. That kicks off the whole process. Click the arrow next to any specific number to dial that one directly.

As the call moves along, the status at the top updates (Calling…, Ringing.., Possible Voicemail) and a red Hang Up button appears. The three result buttons light up once the call is live so you can mark what happened the moment it wraps.
Record the result & move on
When the call wraps, mark what happened in Call Results. There are three outcomes:
Answered — you reached the person
Left Message — you left a voicemail
No Contact — no answer / couldn't connect
Once you pick a result, the panel opens follow-up options for that contact: Add to List, an Email Followup, a Text Followup, and a Call Notes box. Fill in what you need, then advance.
What happens next
Where the dialer sends you depends on the result you picked and whether the contact has another number to try:
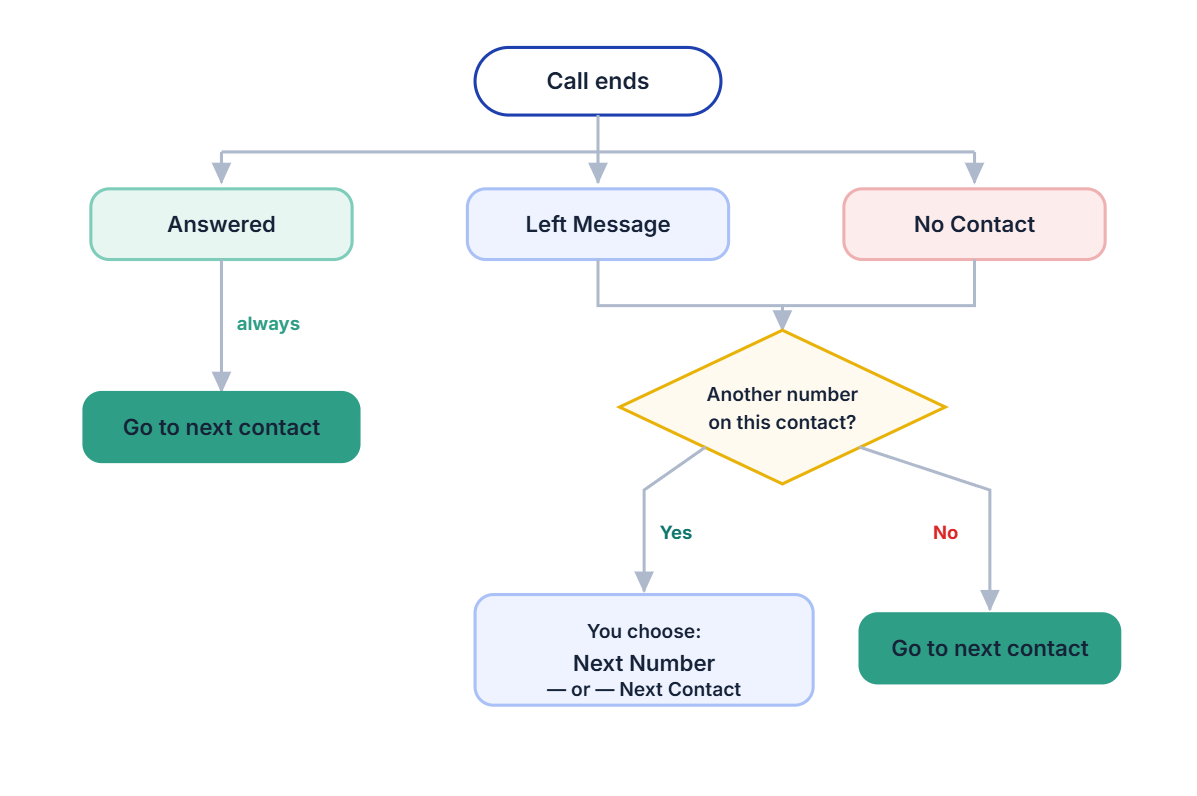
Answered always moves to the next contact. Left Message and No Contact let you try the contact's other numbers first, if there are none, the dialer moves on for you.
In practice: Answered advances straight to the next contact. Left Message (and No Contact) give you two buttons — Next Number dials this contact's next phone, and Next Contact moves on. And if the contact has no numbers left to try, the dialer goes to the next contact anyway, since there's nothing else to dial here.