
DNS Verification
Verifying a domain with DNS records is a one‑time step that proves you control the domain and enables platform features, like sending emails.
If you have added the DNS records and Campaign Deputy shows they are missing. You can use a tool like DNS Lookup Tool to verify the records. Please provide our Support Team screenshots of your DNS records and the results of the DNS Lookup Tool.
1 | Gather the Correct Record Details
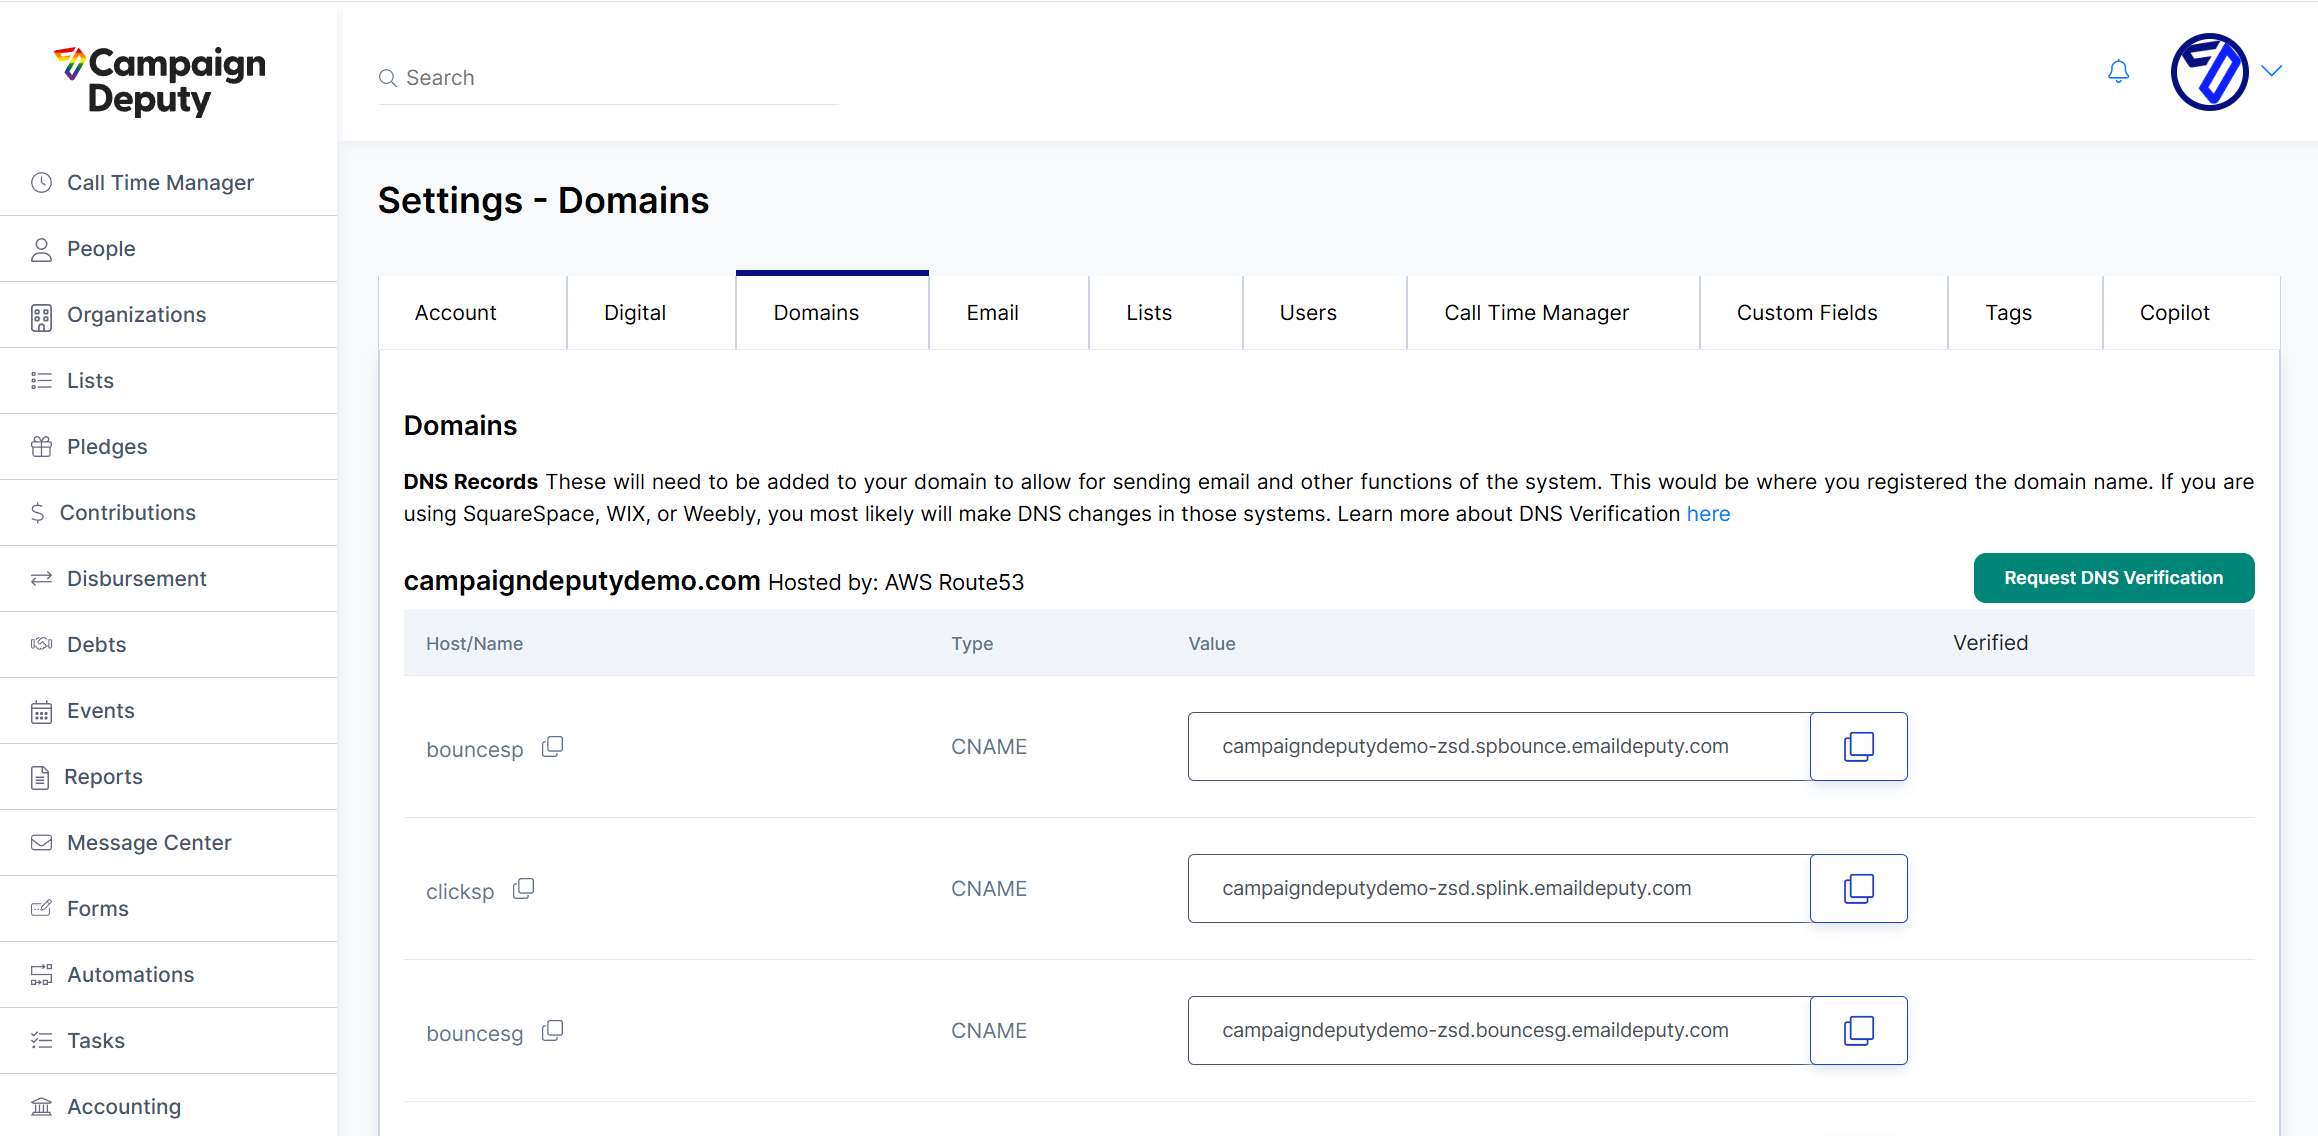
Open Settings ▸ Domains to view your DNS records to add.
Tip: Copy–paste directly—typos or doubled spaces are the #1 root cause of failures.
2 | Find Where to Edit DNS
Your domain registrar (where you pay for the domain) is usually the DNS provider, unless you are using a separate DNS host (Cloudflare, AWS Route 53, etc.). We have the most common host and show you next to the Hosted By: .
If you bought your domain at… | DNS records live… |
|---|---|
GoDaddy, Namecheap, Google | In the registrar’s dashboard |
Squarespace, WIX | In their built‑in DNS settings |
Cloudflare | Cloudflare “DNS” tab |
AWS Route 53 | Route 53 Hosted Zone |
3 | Add the Records (Registrar Examples)
GoDaddy - Manage DNS Records
Log in → My Products → DNS → Add Record.
Choose Type (
TXT,CNAME, etc.).Paste Host and Value.
Leave TTL at default (1 hour) or lower.
Save.
SquareSpace- Adding DNS records to your domain
Log in → Domain Dashboard → DNS Settings → Scroll to Custom Records→ Add Record.
Choose Type (
TXT,CNAME, etc.).Paste Host and Value.
Leave TTL at default (1 hour) or lower.
Save.
WIX - Managing your DNS records
Log in →Go to Domains→Domain Actions → Manage DNS Records→ Add Record.
*WIX may pop up a warning, you can safely ignore this error.Choose Type (
TXT,CNAME, etc.).Paste Host and Value.
Leave TTL at default (1 hour) or lower.
Save.
Cloudflare - Manage DNS Records
Select your zone → DNS.
Click Add record.
Choose Type.
Enter Name (omit the root domain; Cloudflare appends it automatically).
Enter Content.
Proxy status must be DNS only (gray cloud) for CNAME or TXT verification.
Save.
Namecheap - Add DNS Records
Domain List → Manage → Advanced DNS.
Add New Record.
Fill Type, Host, Value, TTL.
Save changes.
(For other hosts, search “Add TXT/CNAME record <provider>” in their docs or contact their support.)
4 | Allow for Propagation
Small TTLs resolve in minutes, but some ISPs cache for up to 24 hours.
Verification tools always query authoritative nameservers, but local DNS caches may lag.
After adding records, wait 15 minutes, then click Re‑Check in our dashboard. If it still fails, move to step 5.
5 | If Records Are Still Reported Missing
Symptom | Root cause & fix |
|---|---|
Multiple conflicting records | If another TXT with the same host already exists (e.g., SPF), merge them or delete the duplicate. |
CNAME & A record coexist | A hostname can have either CNAME or A/AAAA records—never both. Remove the extra record. |
Orange‑cloud icon in Cloudflare | Orange means proxying—our checker sees Cloudflare, not your CNAME. Click to turn it gray (DNS only). |
Record on the wrong domain | The domain name is picked during the sign up process. This may change when you set up your DNS. Verify the domain name still matches. |
Extra spaces / invisible chars | Re‑type the value in a plaintext editor first. Non‑breaking spaces or smart quotes invalidate the hash we expect. |
6 | Self‑Check with Public Tools
Web tools (no install required):
https://www.whatsmydns.net – checks 20 + countries at once.
If your new record appears in these tools but not in our dashboard, wait another 60 minutes—our verification cache clears every hour.
8 | When to Contact Support
If all of the following are true:
The record shows correctly in an external lookup for at least 8 hours.
You have no conflicting records for the same host.
You confirmed Cloudflare (or similar) is in DNS‑only mode.
Send us:
The domain name.
A screenshot of your DNS records from your provider.
The approximate time you first added the record.
We’ll investigate on our side and get back to you.
Quick FAQ
Question | Answer |
|---|---|
Can I delete the record after verification? | Keep it—our platform re‑checks periodically to keep your domain in a verified state. |
Does changing TTL help? | A lower TTL (300 s) speeds up future edits; it does not bypass existing upstream caches immediately. |
Why does my email still bounce? | Email deliverability needs SPF, DKIM, and DMARC records in addition to the initial domain‑verification TXT. Follow the Email Setup guide. |
Summary
Copy the record exactly from our dashboard.
Add it in the right DNS Domain (registrar or provider).
Wait up to 24 hours for global propagation.
Use public lookup tools to confirm.
Resolve common misconfigurations (proxying, wrong host, duplicates).
Reach out with screenshots if our DNS Verification still fails after 8 hours.