
How to Use Landing Page Forms
Form Customization
To begin, we recommend setting your Form settings via Profile > Settings > Forms. Learn more about how Form settings are applied in Getting Started with Forms.
Form Hosting
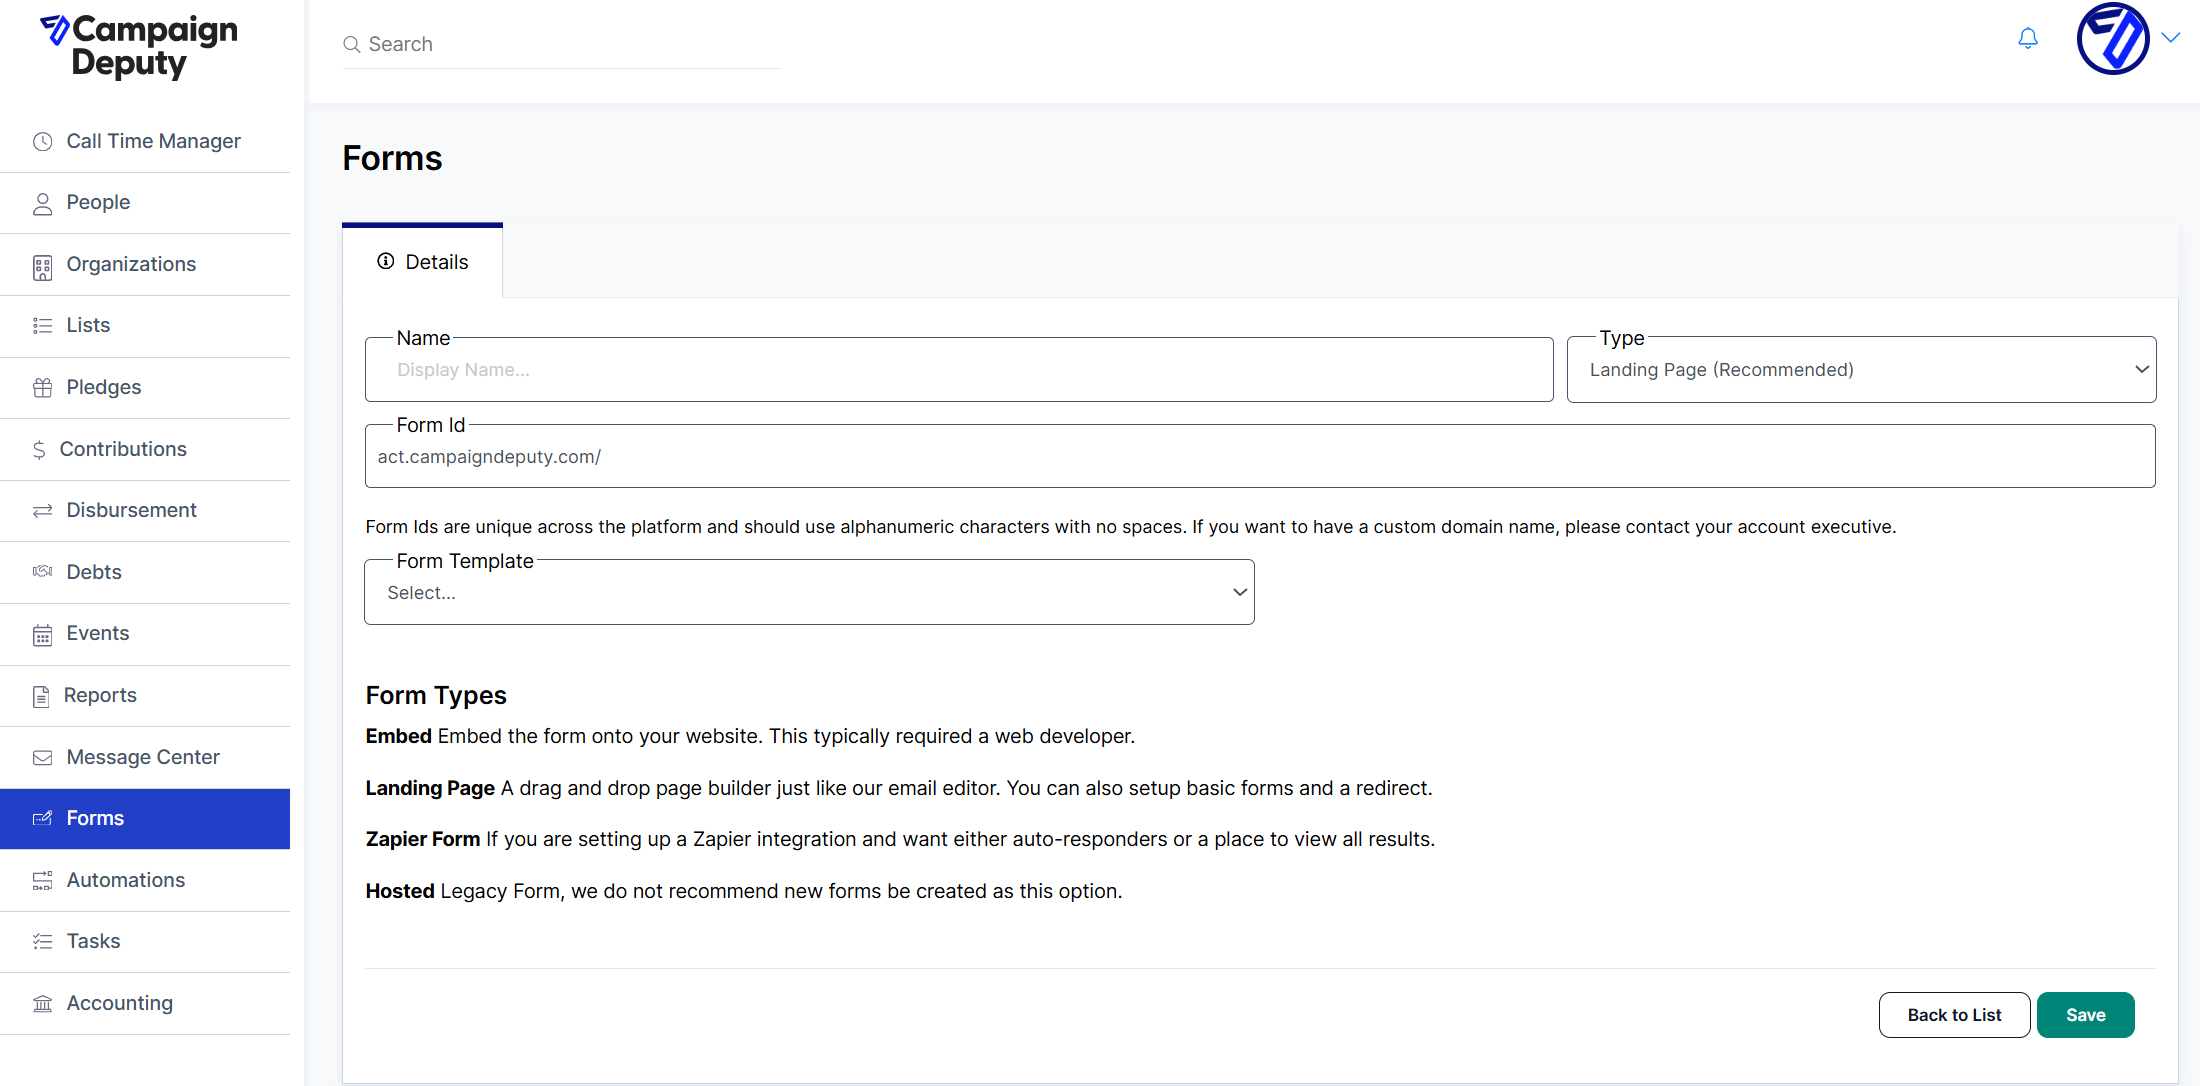
Landing page forms are conveniently hosted at the web address act.campaigndeputy.com/{form id}.
For users seeking a more personalized experience, there is an option to request a custom domain, such as act.mycampaign.com/{form id}, specifically for your Forms. If you would like to explore this option further or inquire about any associated costs, please do not hesitate to reach out to our Support team for comprehensive assistance and additional information.
Designing a Form
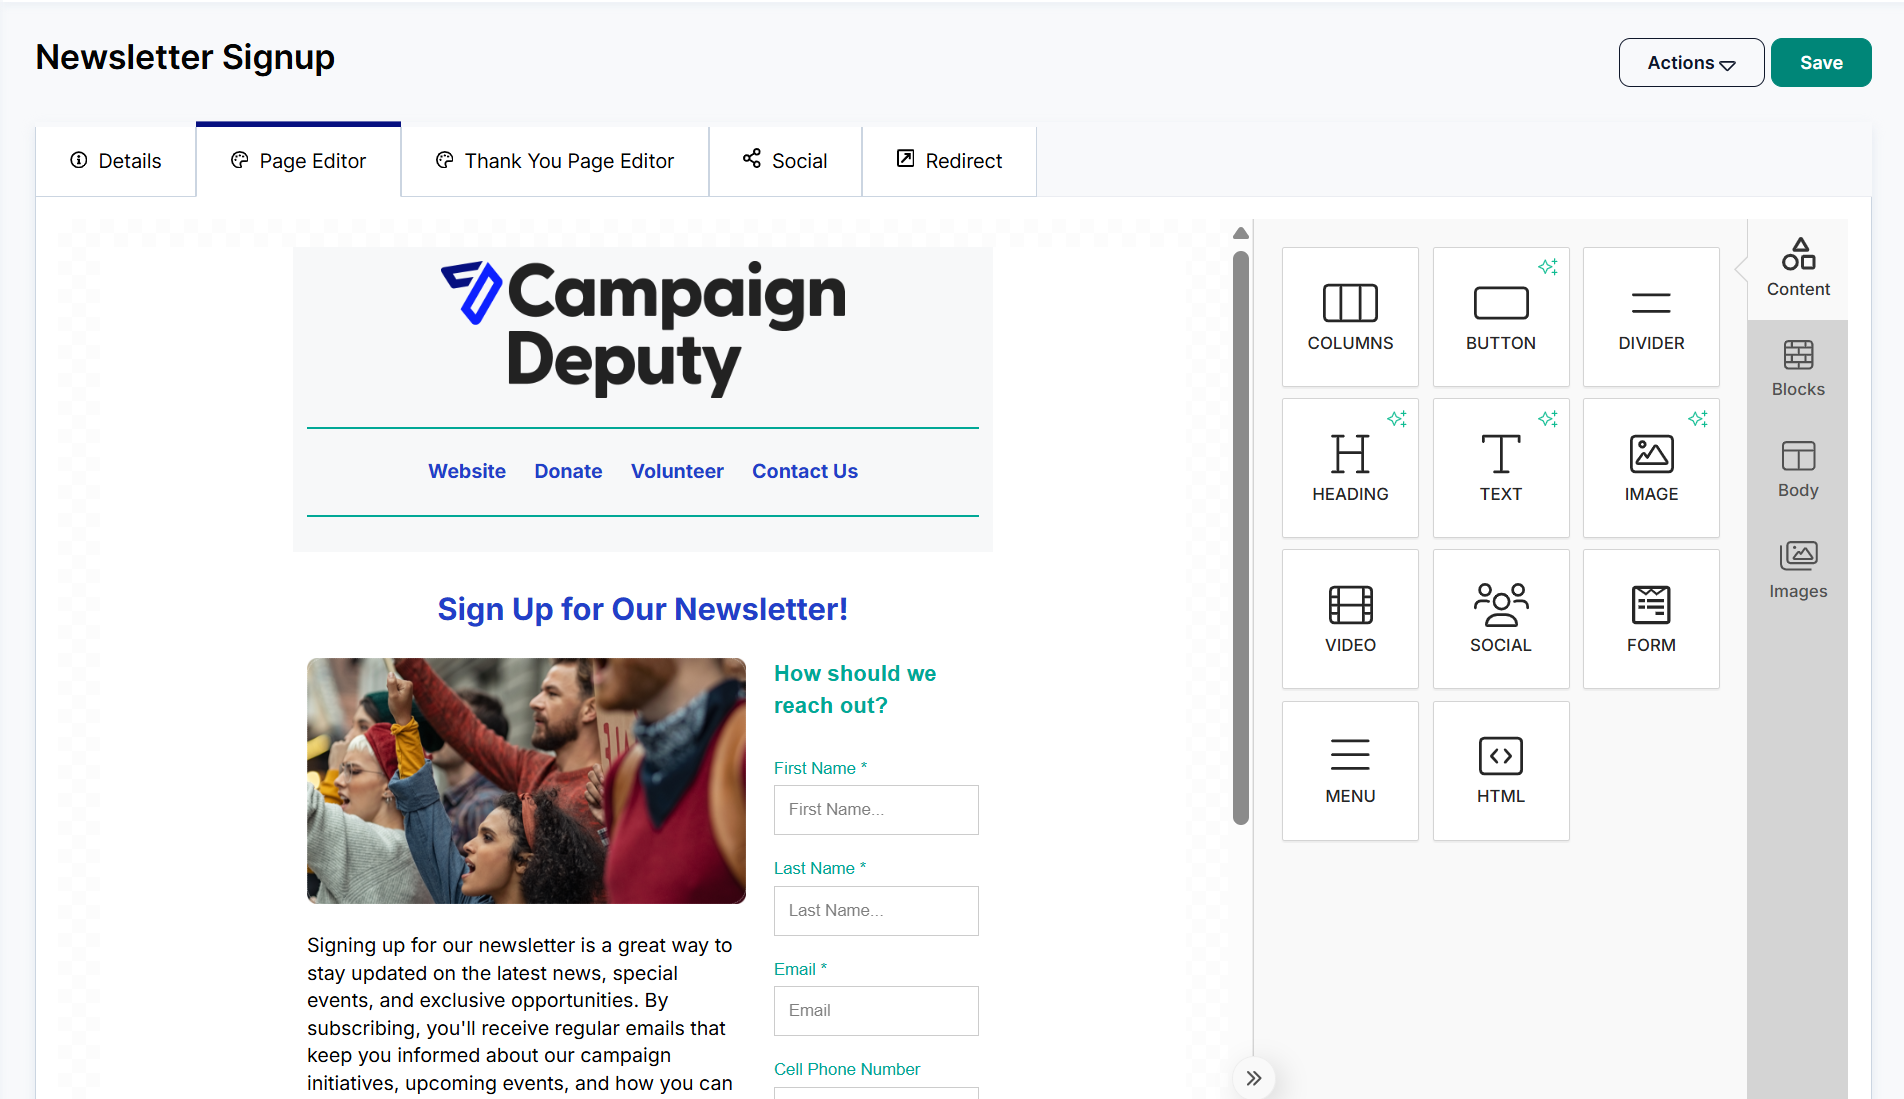
Using the Form Block
The Form Block supports a set of standard Campaign Deputy fields and allows for custom fields to be added as well. Custom Fields inside the form save as a response are are searchable but do not apply to a profile's custom fields.
Creating Checkboxes/Radio Buttons
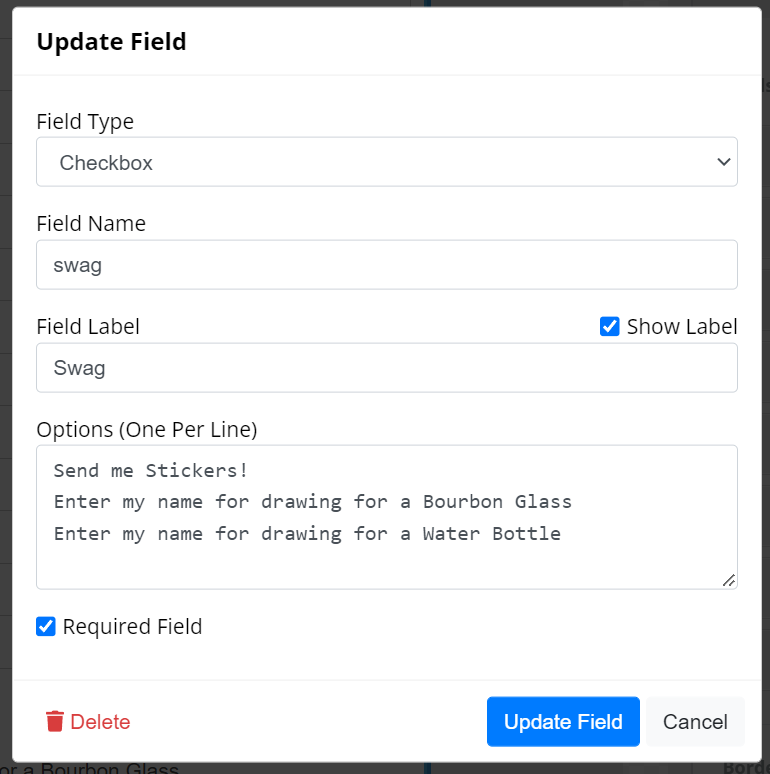
You can add multiple options to a checkbox or radio button field. The Field Name will be the column heading when saved as a response. The selection Options will be the value that can be searched. You can hide the Field Label if you do not want the checkboxes to have a heading.
Setting Block Styles
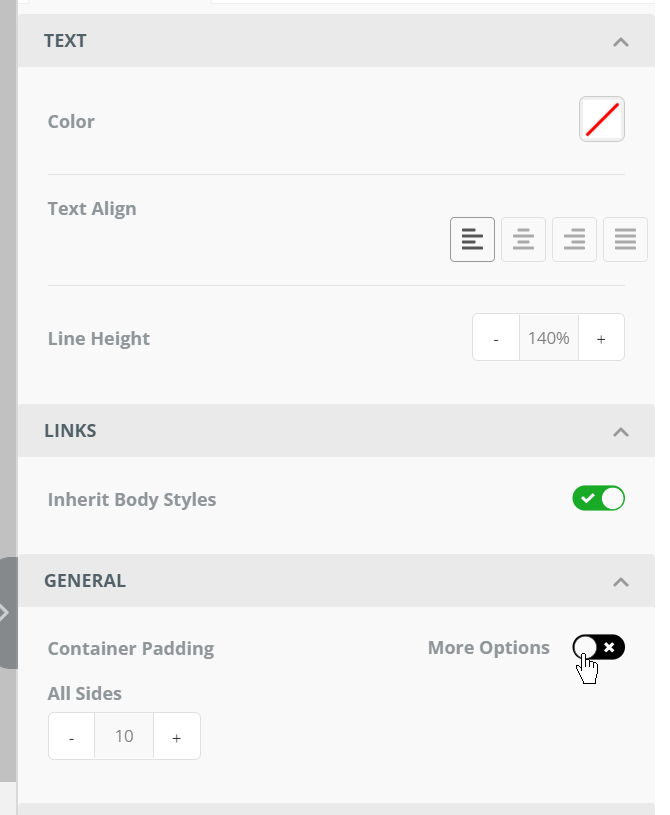
Each block has a set of options available with more available with the More Options setting or Show More Options.
Changing the Body Style
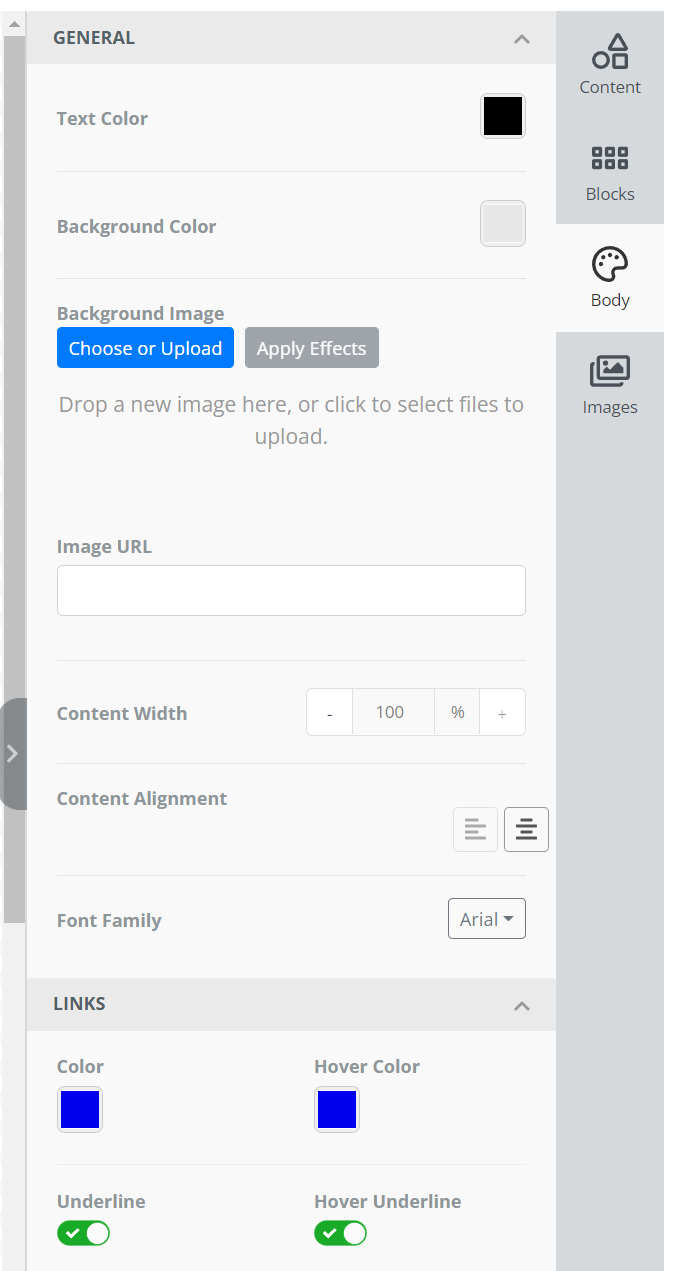
The Body tab also have some style settings. You can add a full-page background image or change the background color here. If you are not using a centered form, you may want to update the content width to 100 and switch from PX to %.