
Getting Started with Forms
Customizing the Landing Page and Hosted Forms
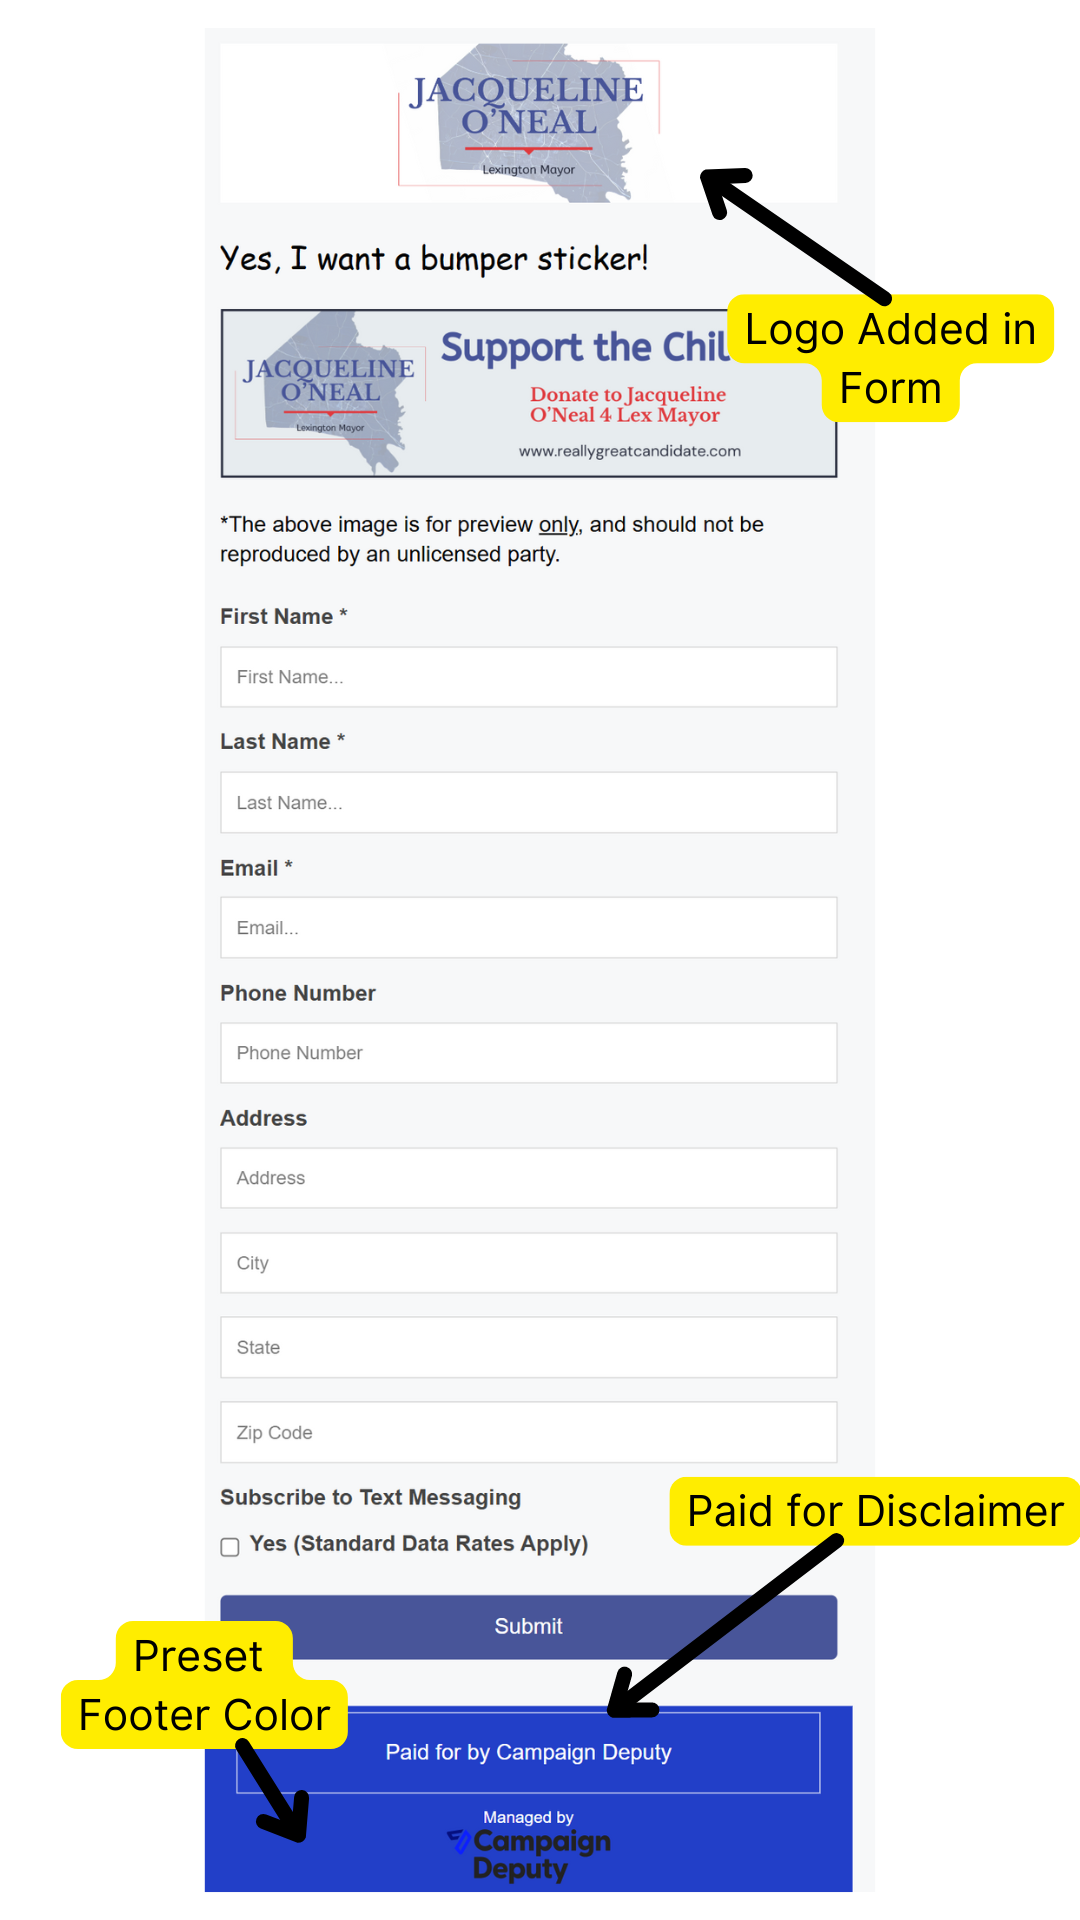
To begin utilizing the Landing Page and Hosted forms effectively, it is essential to configure your Digital settings. In this section, you have the opportunity to customize various elements, including uploading a logo, selecting colors for the automatically generated footer, and, if necessary, adding a "Paid for by" disclaimer. It is important to note that each account is initialized with a default set of empty fields that require your input. Once you have completed these fields with your chosen values, your forms will reflect the unique style and branding that you have selected.
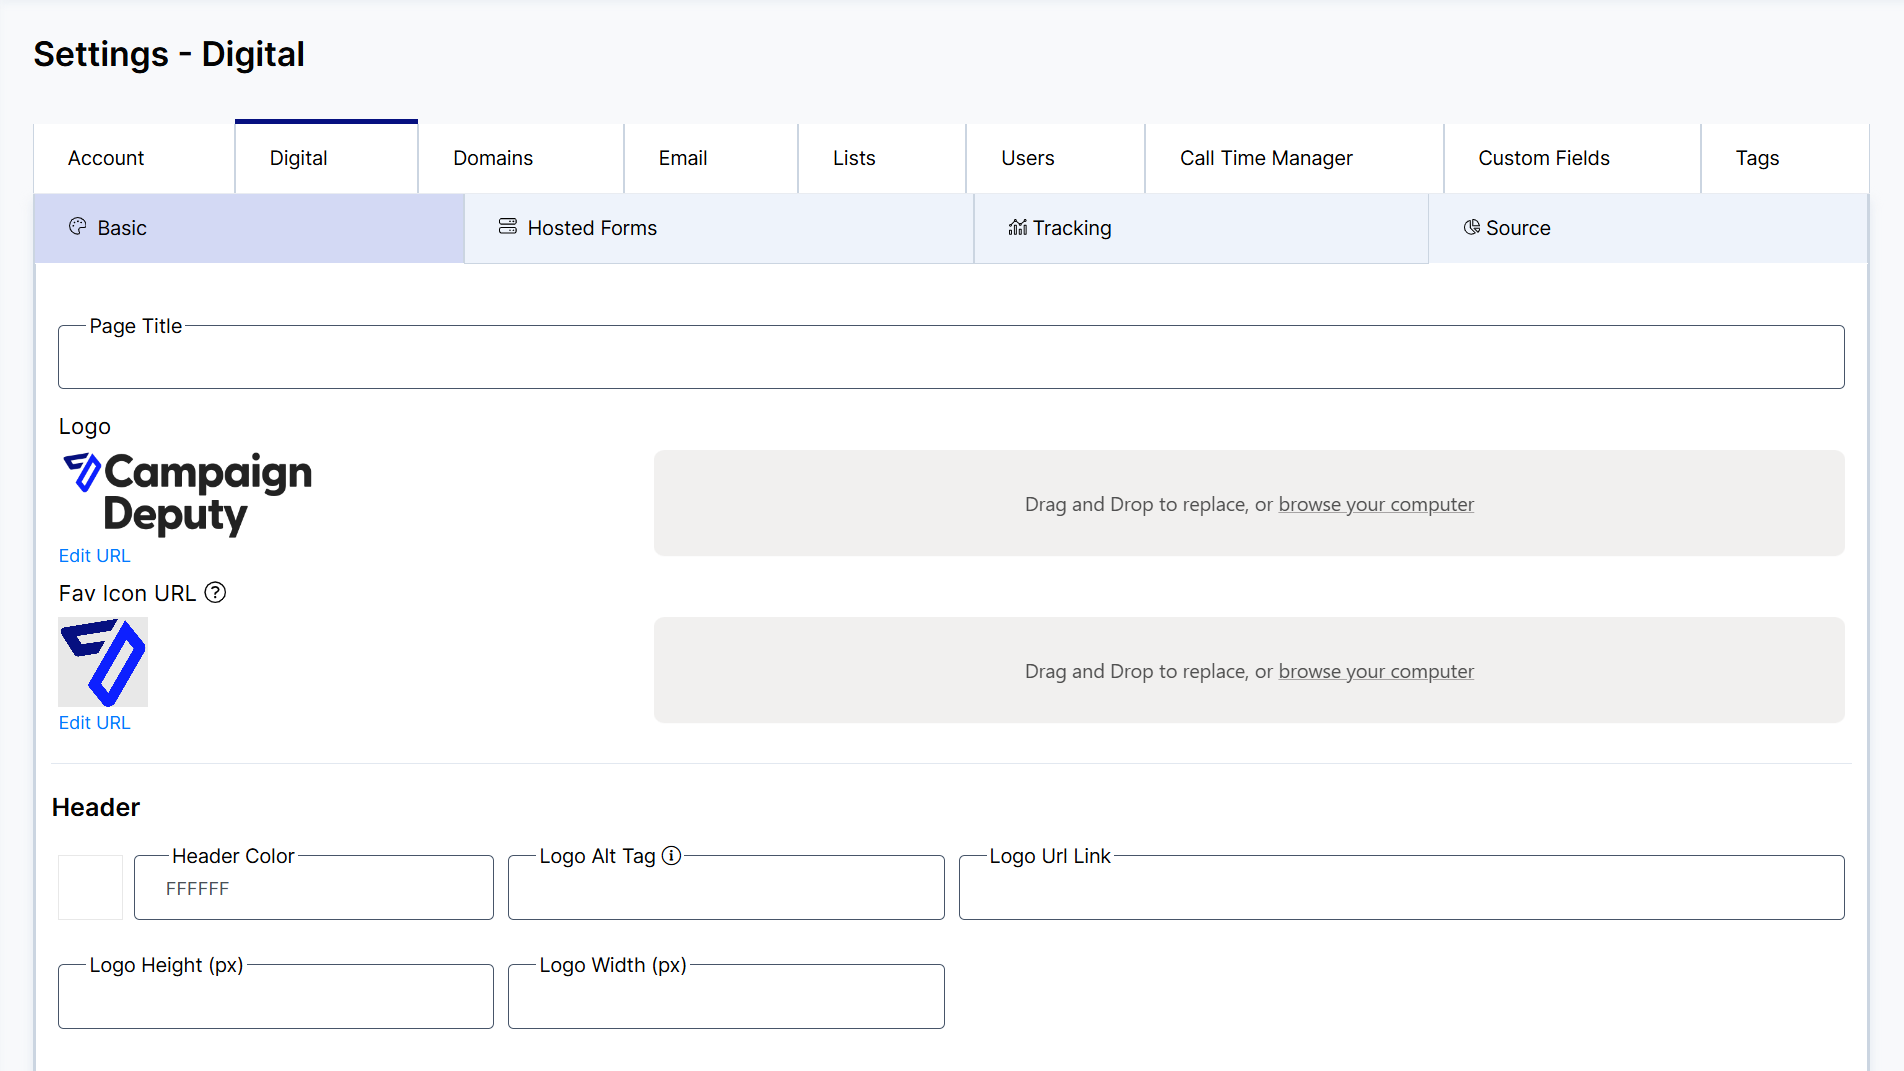
Setting the Landing Page Logo
Landing Pages do not automatically have a logo at the top of the page. They will include your Fav Icon while deciding to use the logo at the top of the page is your own design decision.
Adding Form Templates
Form templates can be created by navigating to the Forms area, Actions > Form Templates and selecting Create Template. Form templates can include the Form page, a Thank You Page, Autoresponder, and Social Share settings to be reused when creating new forms. Editing a template will make updates to the template exclusively. Forms that have been created previously or unpublished will have to be recreated to add any revisions made to the template.