
Getting Started with Campaign Deputy
NOTICE: A message from Campaign Deputy HQ
We're happy you're here! What follows will be a comprehensive 'to-do list' of essential settings and best practices to follow to get you fundraising as quickly as possible. Some of the following items are highly technical, so we recommend reviewing these with your team or reaching out if you have any concerns.
As always, thanks for choosing Campaign Deputy! We wish you the best of luck in your fundraising efforts.
- The Campaign Deputy Team
Contacting Us
The Campaign Deputy office is open Monday through Friday 9AM-5PM ET with exceptions for bank holidays. Extended support for Compliance reporting is available for FEC compliance users until 8PM as we follow the FEC Office Hours.
If at any point you need to contact us, here are our channels for future reference:
Support:
Email (Preferred): support@campaigndeputy.com
Phone: (202) 915-0500 > 2
Sales:
Email: sales@campaigndeputy.com
Phone: (202) 915-0500 > 1
Missing Login?
If you haven't already, please check your inbox to confirm you've received your login information prior to account setup. If you have not yet received your credentials, please click here and follow the instructions.
Email Configuration
Review the following steps to confirm your Domain Name to ensure your account is ready to use as soon as possible:
1. Log in to your Campaign Deputy account.
2. Locate your DNS Records under Settings -> Domains. (Settings are available from the dropdown menu on the top right.)
3. Add and/or confirm your DNS records. See more about this process here.
4. Once your DNS records have been added, submit a Request for Verification in the Domains settings.*
*Emails sent prior to completing your setup will not be delivered until your Domain Name is verified. You must resend any emails attempted prior to verification, if necessary.
Accepting 3rd-party online contributions?
If you're using a third-party online contribution system such as ActBlue, please review our how-to on integrating those with Campaign Deputy.
Note: ActBlue's Support team must approve each ActBlue integration. This may cause delays, we suggest reaching out to your ActBlue account manager or ActBlue Support to expedite this approval. Once approved, your ActBlue contributions will appear within 5 minutes in your Campaign Deputy account.
Additionally, ActBlue contributions accepted prior to activating your Campaign Deputy account must be back-dated by ActBlue Support in order to add them to your reports.
Importing Records
The Import function allows for concurrent imports of contacts and contributions. It’s advised to import bulk disbursement itemizations exclusively. Additionally, imports can facilitate bulk updates to records.
Please review the following docs for help with importing records:
Would an example help? Check out these downloadable import templates:
Template for Importing Disbursements*
*This template contains federal disbursement codes that may not correspond to your district. See notes below.
Note: Receipt types, disbursement codes, and organization types vary per district. You must download the codes associated with your district via People > Imports > Download Templates.
Settings Overview
Account - This is your hub for general account information, setting up 3rd-party integrations, and reviewing your candidate record(s). In the event you're running for office, your account must have an individual candidate record per election type (e.g., General, Primary, etc.) for proper reporting.
Digital - This is where your Form and Email brand settings are inputted. At the very least, we recommend filling out the Basic Digital Settings completely. Furthermore, if you intend to use source tracking in your forms, this is where those settings are applied.
Domains - See 'Email Configuration' above for more information.
Email - This provides an overview of your email volume and the form to request an increase. You may also apply any restricted sending domains here.
Lists - A few dynamically updated lists can be set here. More information is available in List Settings.
Users - Anyone who will need access to your account will be added from here. We recommend allowing People/Read Only and Contributions/Read Only permissions at the very minimum in order for team members to use the system properly. Click to see more about adding new users and setting user permissions.
Call Time Manager - Set lists to show in Call Time Manager. This is essential if you intend to participate in Call Time.
Custom Fields - This is where you will set custom fields to be entered into People records. Learn more here.
Tags - Set up tagging to be used with your People Records and Automations. Learn more here.
Universe Search - Setting up your Lists
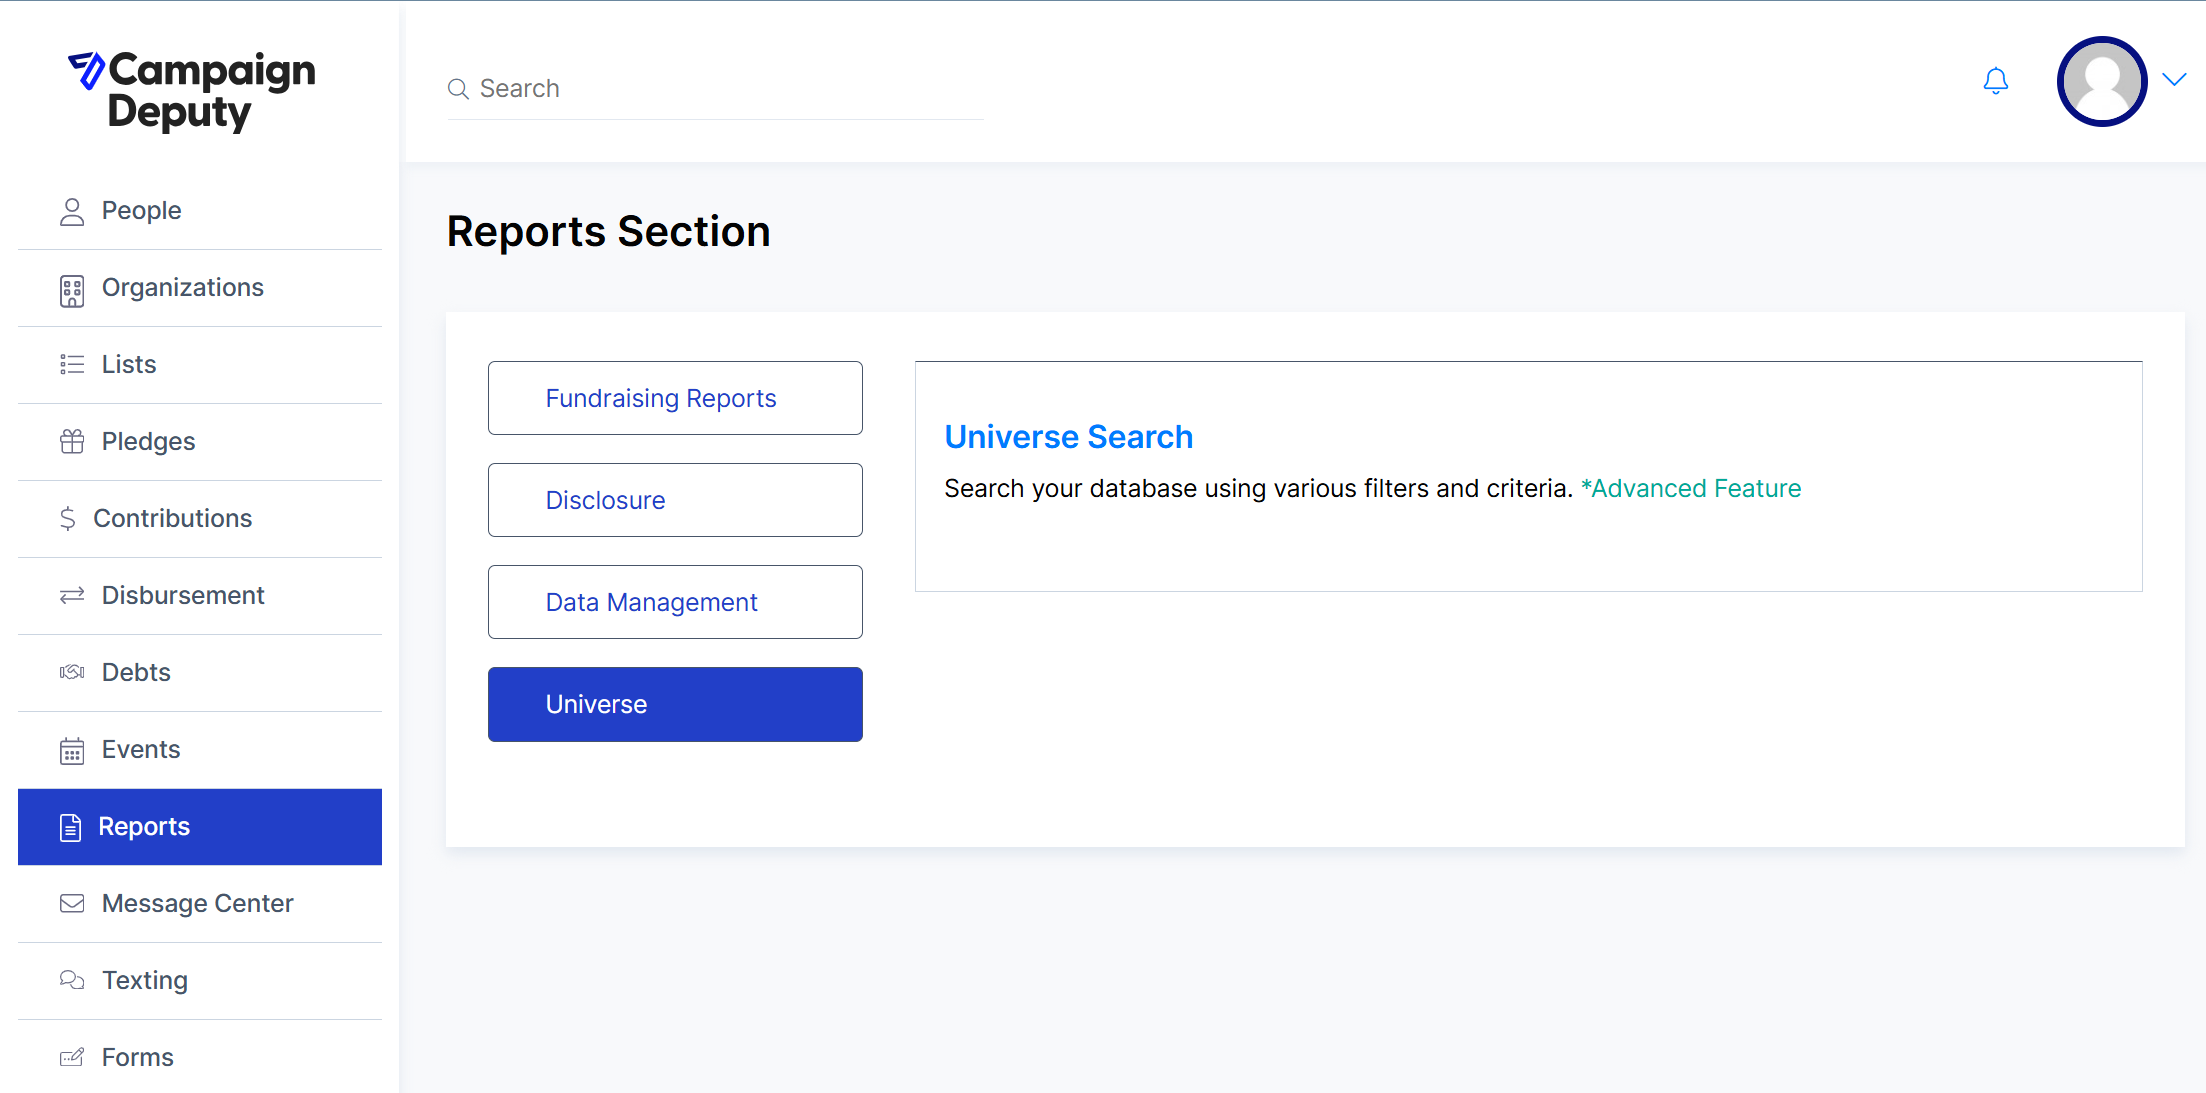
Universe Search is a powerful tool to help you find specific segments of contacts within your Campaign Deputy account. Use Universe Search to create lists, add to a list, add/remove tags, and export data. Learn more about Getting Started with Universe Search.